Insert chords using the MIDI keyboard
If a keyboard is connected to the iPad via Midi, the ChordPainter recognise this connection automatically and allows to insert chords via Midi. The easiest way is the connection via Lightning-USB adapter when the keyboard has an USB Midi output. If the keyboard has only 5 pin Midi connectors, you have to buy one of many Midi-USB adapters available and connect to the iPad using this adapter. For this connection type, Chordpainter also supports Bluetooth Midi adapters from Yamaha or oder QuiccoSound.
If a Midi connection is detected, the Midi button gets red and you can tap it to select the Midi source. ChordPainter accepts midi input on all midi channels, which allows usage without configuration.
WImportant is that iOS also allows virtual Midi connections of other apps like Synthesizer or Drum machines. These will recognised as Midi connection, but they are usually output devices and not usable for ChordPainter. With a piano or keyboard it works out of the box...
Define Midi trigger
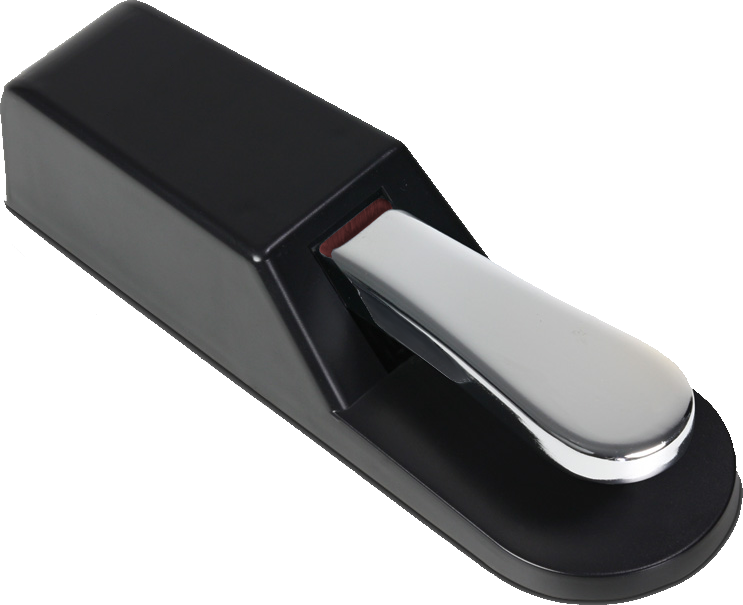
To keep your hands on the keyboard while playing, we need to find a trigger to store a chord. To set this Midi trigger, use the set trigger button to record it. The next incoming Midi command will be used as a trigger.
By default, this is the sustain pedal but you could use any note, program change or controller command. If you have two or three pedals (sostenuto and piano), you can get one of these pedals for the trigger and use the sustain pedal as normal.
Midi recording mode
Since the chord images are limited to 2 octaves per hand, ChordPainter offers three variants for playing the chords via Midi: Standard, Shift and Transpose
Standard Mode
In the Standard mode, midi notes which are not within the 2x2 octaves, are simply ignored.

Shift Mode
In Shift mode, midi notes that are an octave below or 1-2 octaves above the 2x2 octave range, are correspondingly moved upwards or downwards.

Transpose Mode
The Transpose mode ignores the way of playing and arranges notes to the respective hands. Base for this is the number of currently played notes. For example, if 5 notes are played, then the lower 2 are assigned to the left hand and the upper 3 to the right hand. This allows better control how chord images will look later, as left hand notes are drawn as gray boxes and the right han notes as circles.
![]()
As you can see, quite a lot of notes will be transposed. But usually the chord images are clean sorted for the right and left hand chords. The following divisions are programmed, surely worth to discuss, but once I had to set myself:
| 1 Note = 1R | 2 Noten = 2R | 3 Noten = 3R | 4 Noten = 1L + 3R | 5 Noten = 2L + 3R |
| 6 Noten = 2L + 4R | 7 Noten = 2L + 5R | 8 Noten = 3L + 5R | 9 Noten = 4L + 5R | 10 Noten = 5L/5R |